UPDATE! (9 July 2014)
It’s been slightly over 2 weeks since I got my hair done at 99 Percent Hair Studio. Just as Danson (creative stylist) had shared with me, the colours in my hair have now faded into a pretty pastel.
The impressive thing to note was how long the colours stayed vibrant. A friend who has highlighted her hair several times with bright colours was surprised to see little to no change in my colours despite several washes.
So this was my hair just about a week ago. Colours were still pretty vibrant, albeit somewhat faded…
Now that the vibrant colours have faded into the pretty pastels that I had originally asked for, I’m appreciating my hair colours in a very different way.
And now that I have such beautiful colours in my hair, I can’t imagine going back to just one shade. Now I see why they say it’s addictive to bleach/highlight/colour with bright colours!
Update, over.
—–
Another sponsored review with Beauty Undercover! I’m a blessed and happy girl. I probably also put my hair through too much processing. But hey, pretty colours are just too pretty to resist.
So I’ve been wanting to bleach my hair for quite a while, and have been working up the courage to get it done. After my organic hair dye makeover, I finally got down to it and got a box of Palty from Watsons. My hair turned a brassy orange (as expected after reading a few articles about bleaching), and I covered it with another box of Liese bubble foam a week after the Palty bleach. A month or so later, I covered it with another box of Revlon Coloursilk. My hair became an orangey-brown, like so…
—
Eventually, I decided to go a little bit darker and bought another box of Revlon Coloursilk. So I just dyed my hair two Thursdays ago (12 June 2014), and my go-to beauty blog comes knocking. Another hair colouring opportunity? Sure! :D
I kinda liked the darker brown that I already had, and entered the salon with slight trepidation. What if the colour comes out weird?
More importantly,
Will doing (yet) another hair colouring fry my hair?
—
So this is me, after the 3rd home-dye this year, before Danson of 99 Percent Hair Studiodid his magic.
We spent a few minutes talking about the colours I liked and what Danson felt was suitable for me. I brought up images on my phone to show him the styles I found interesting and he showed me his portfolio of hair coloring for numerous customers. Danson takes pictures of all his customers, before and after! He’s also very well-versed in the language of hair colour. My hair is in good hands.
Because my hair was slightly shapeless (I trim my hair at home, DIY :P), Danson gave me a quick trim before the colouring began.
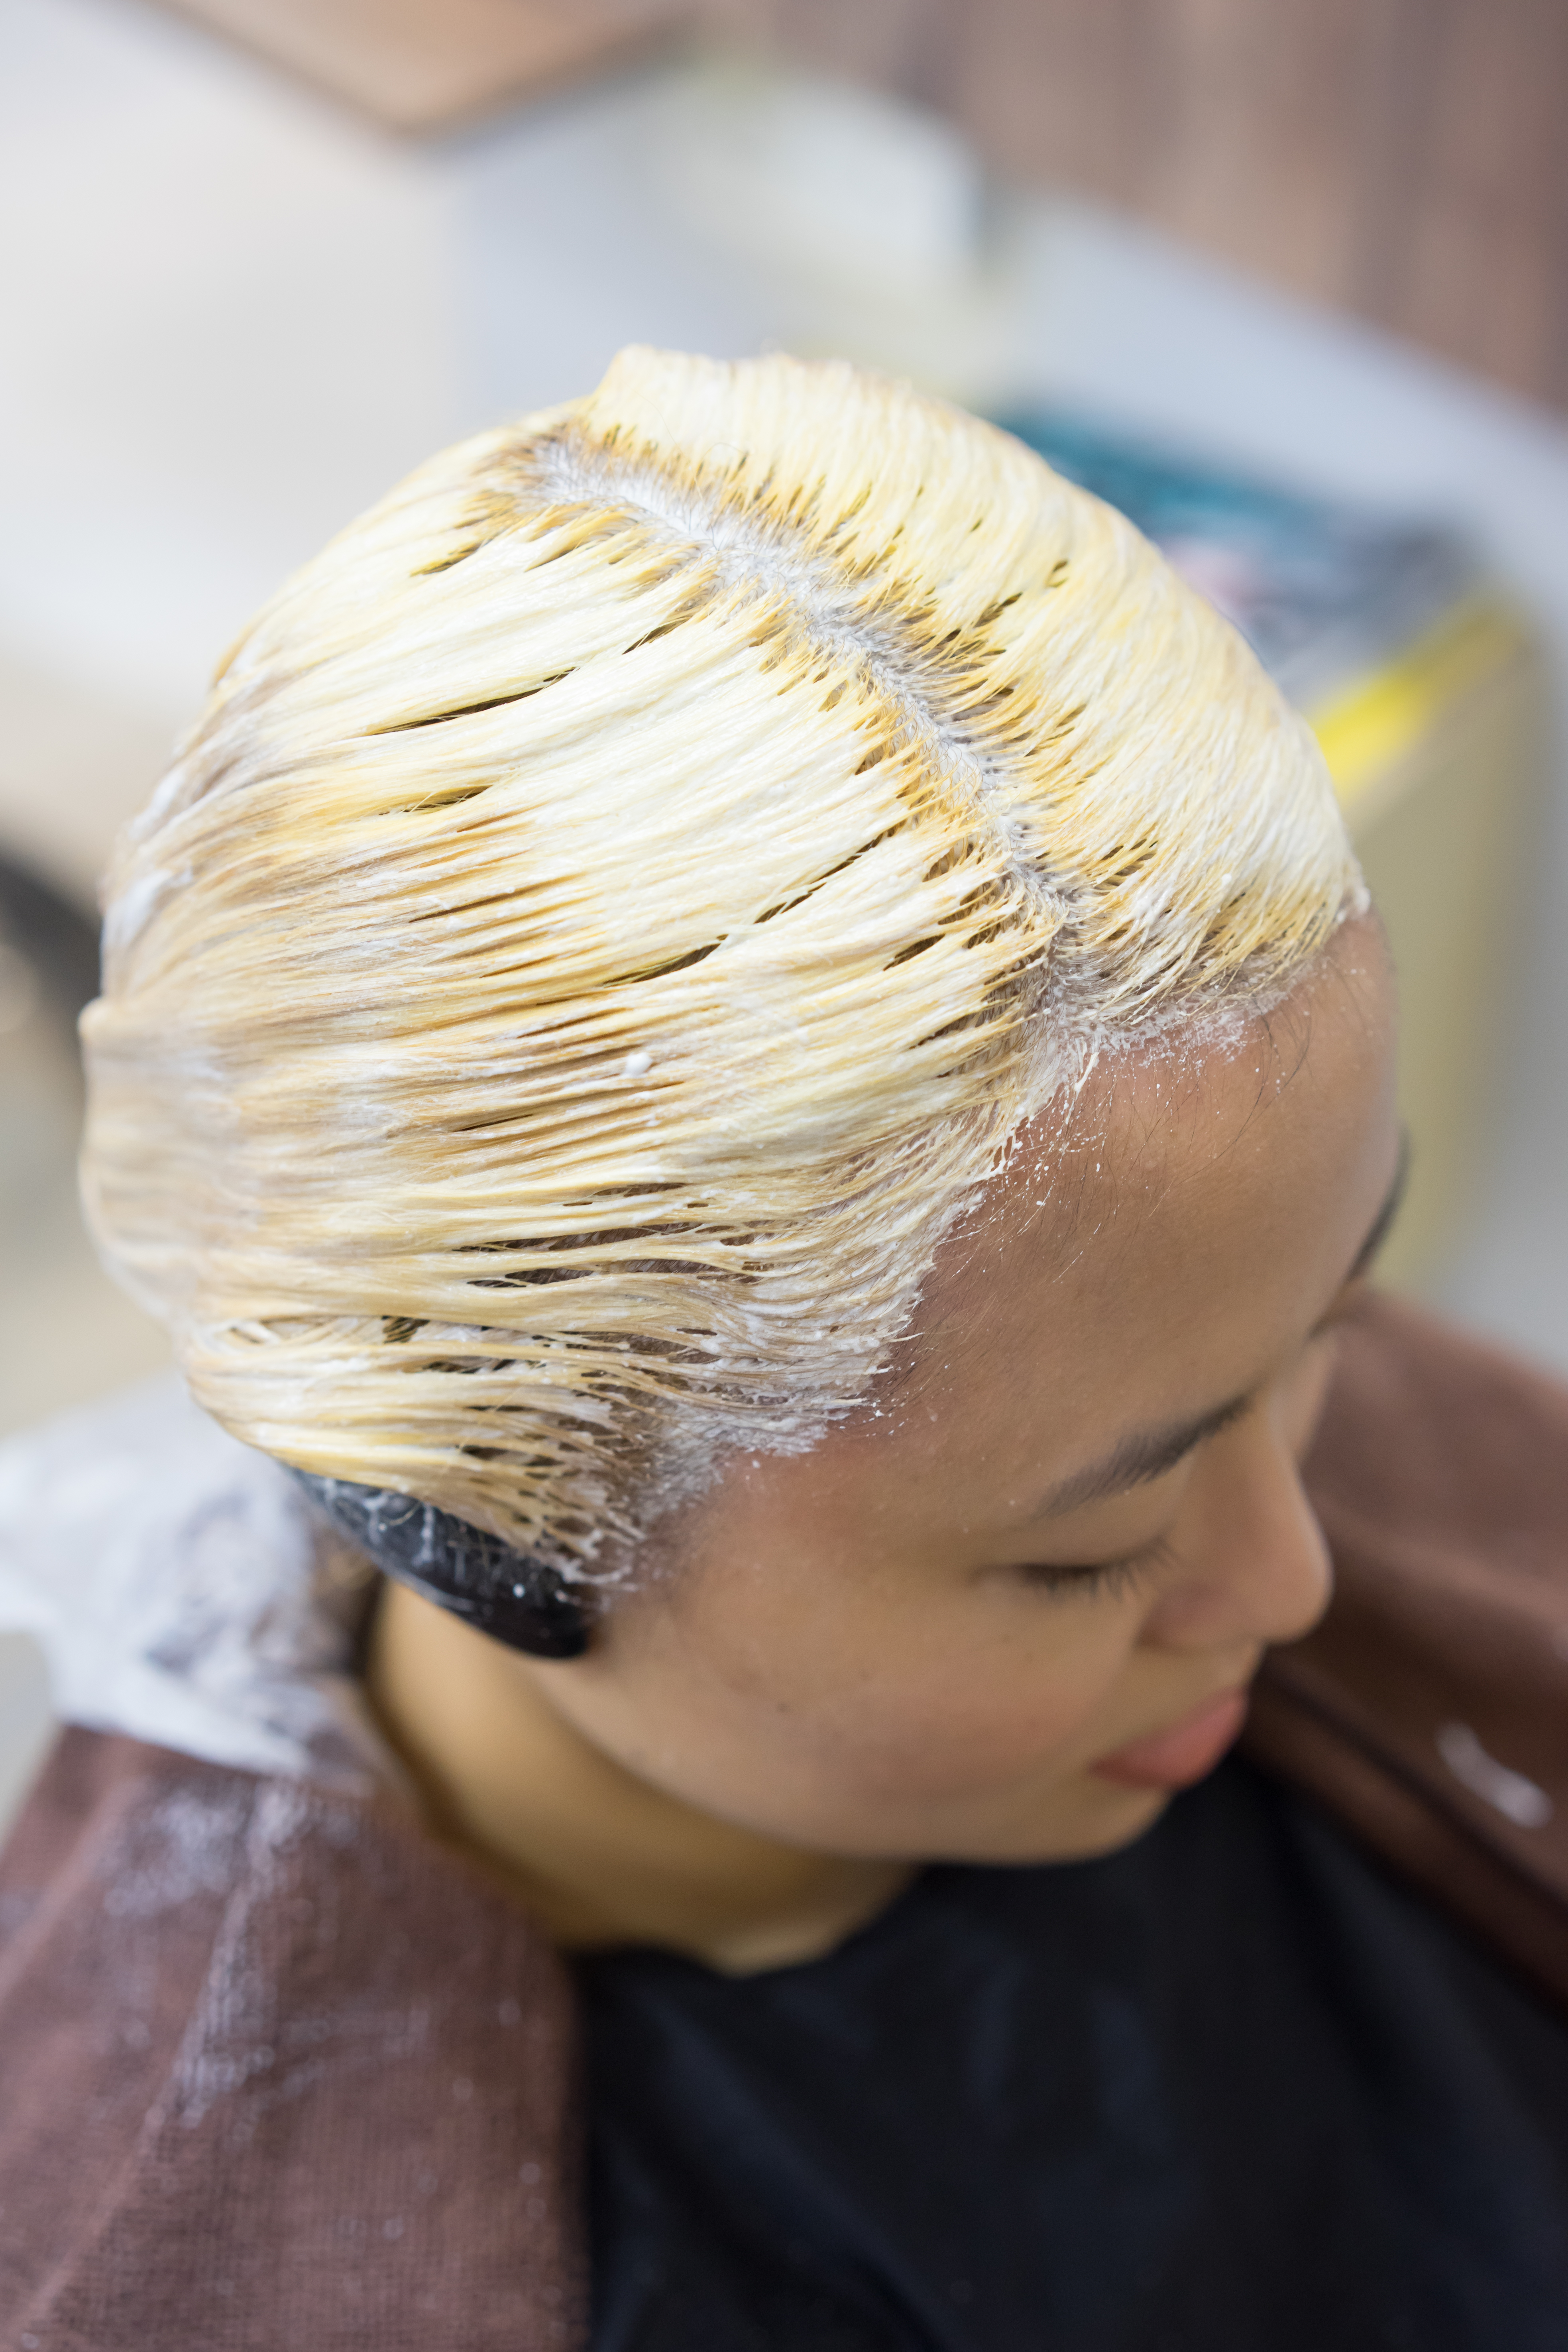
Then, bleaching time (this is where Danson’s hair colouring expertise shines)!
With my limited understanding of bleach, I only knew that bleaching meant removing the existing colour from hair. Danson shared that bleaching isn’t as simple a procedure as it sounds.
- You never really know how long bleaching will take because different hair qualities take to bleach differently – mine took about 1.5-2 hours or so (more on that later).
- Bleaching isn’t just about removing the colour in hair. The overall hair has to be balanced after bleaching to better ensure that colouring later will turn out even.
- There are different types of bleach to help “kill” certain colours in the hair, to better prepare hair for colouring – Asian hair typically turns a brassy orange after the first bleach (I know that brassy orange well :P), so a different bleach coating should be used after to “kill” the orange. My hair turned a familiar orange, and then an uneven yellow (more on how Danson handled that later).
And to think I thought I could save some $$ by DIY-bleaching at home. Even some friends of mine who have had their hair bleached in hair salons didn’t know this, and only had one coat of bleach done before hair colouring.
Note-to-self: Never DIY-bleach again (unless I become a professional (never) or am ready to put in the effort to ensure my hair is tone-balanced (nah))!
Because I dyed my hair so many various times this year, my original hair colour before bleach was already uneven. Knowing that I’ve bleached and dyed my hair before, Danson started with bleaching just my roots (new hair, not tainted by bleach/dye).
Next, the rest of my hair.
Finally, blue bleach to remove the weird brassy orange-yellow (I didn’t know bleaching was such an art :P).
Then, it was waiting for the bleach to do its job, stripping the colours off my hair (bleaching is really bad for the hair, so please don’t do it often, and definitely don’t do it on the same day as a perm/rebond!).
The heat machine that looked like a transformer of sorts was my good friend for the day.
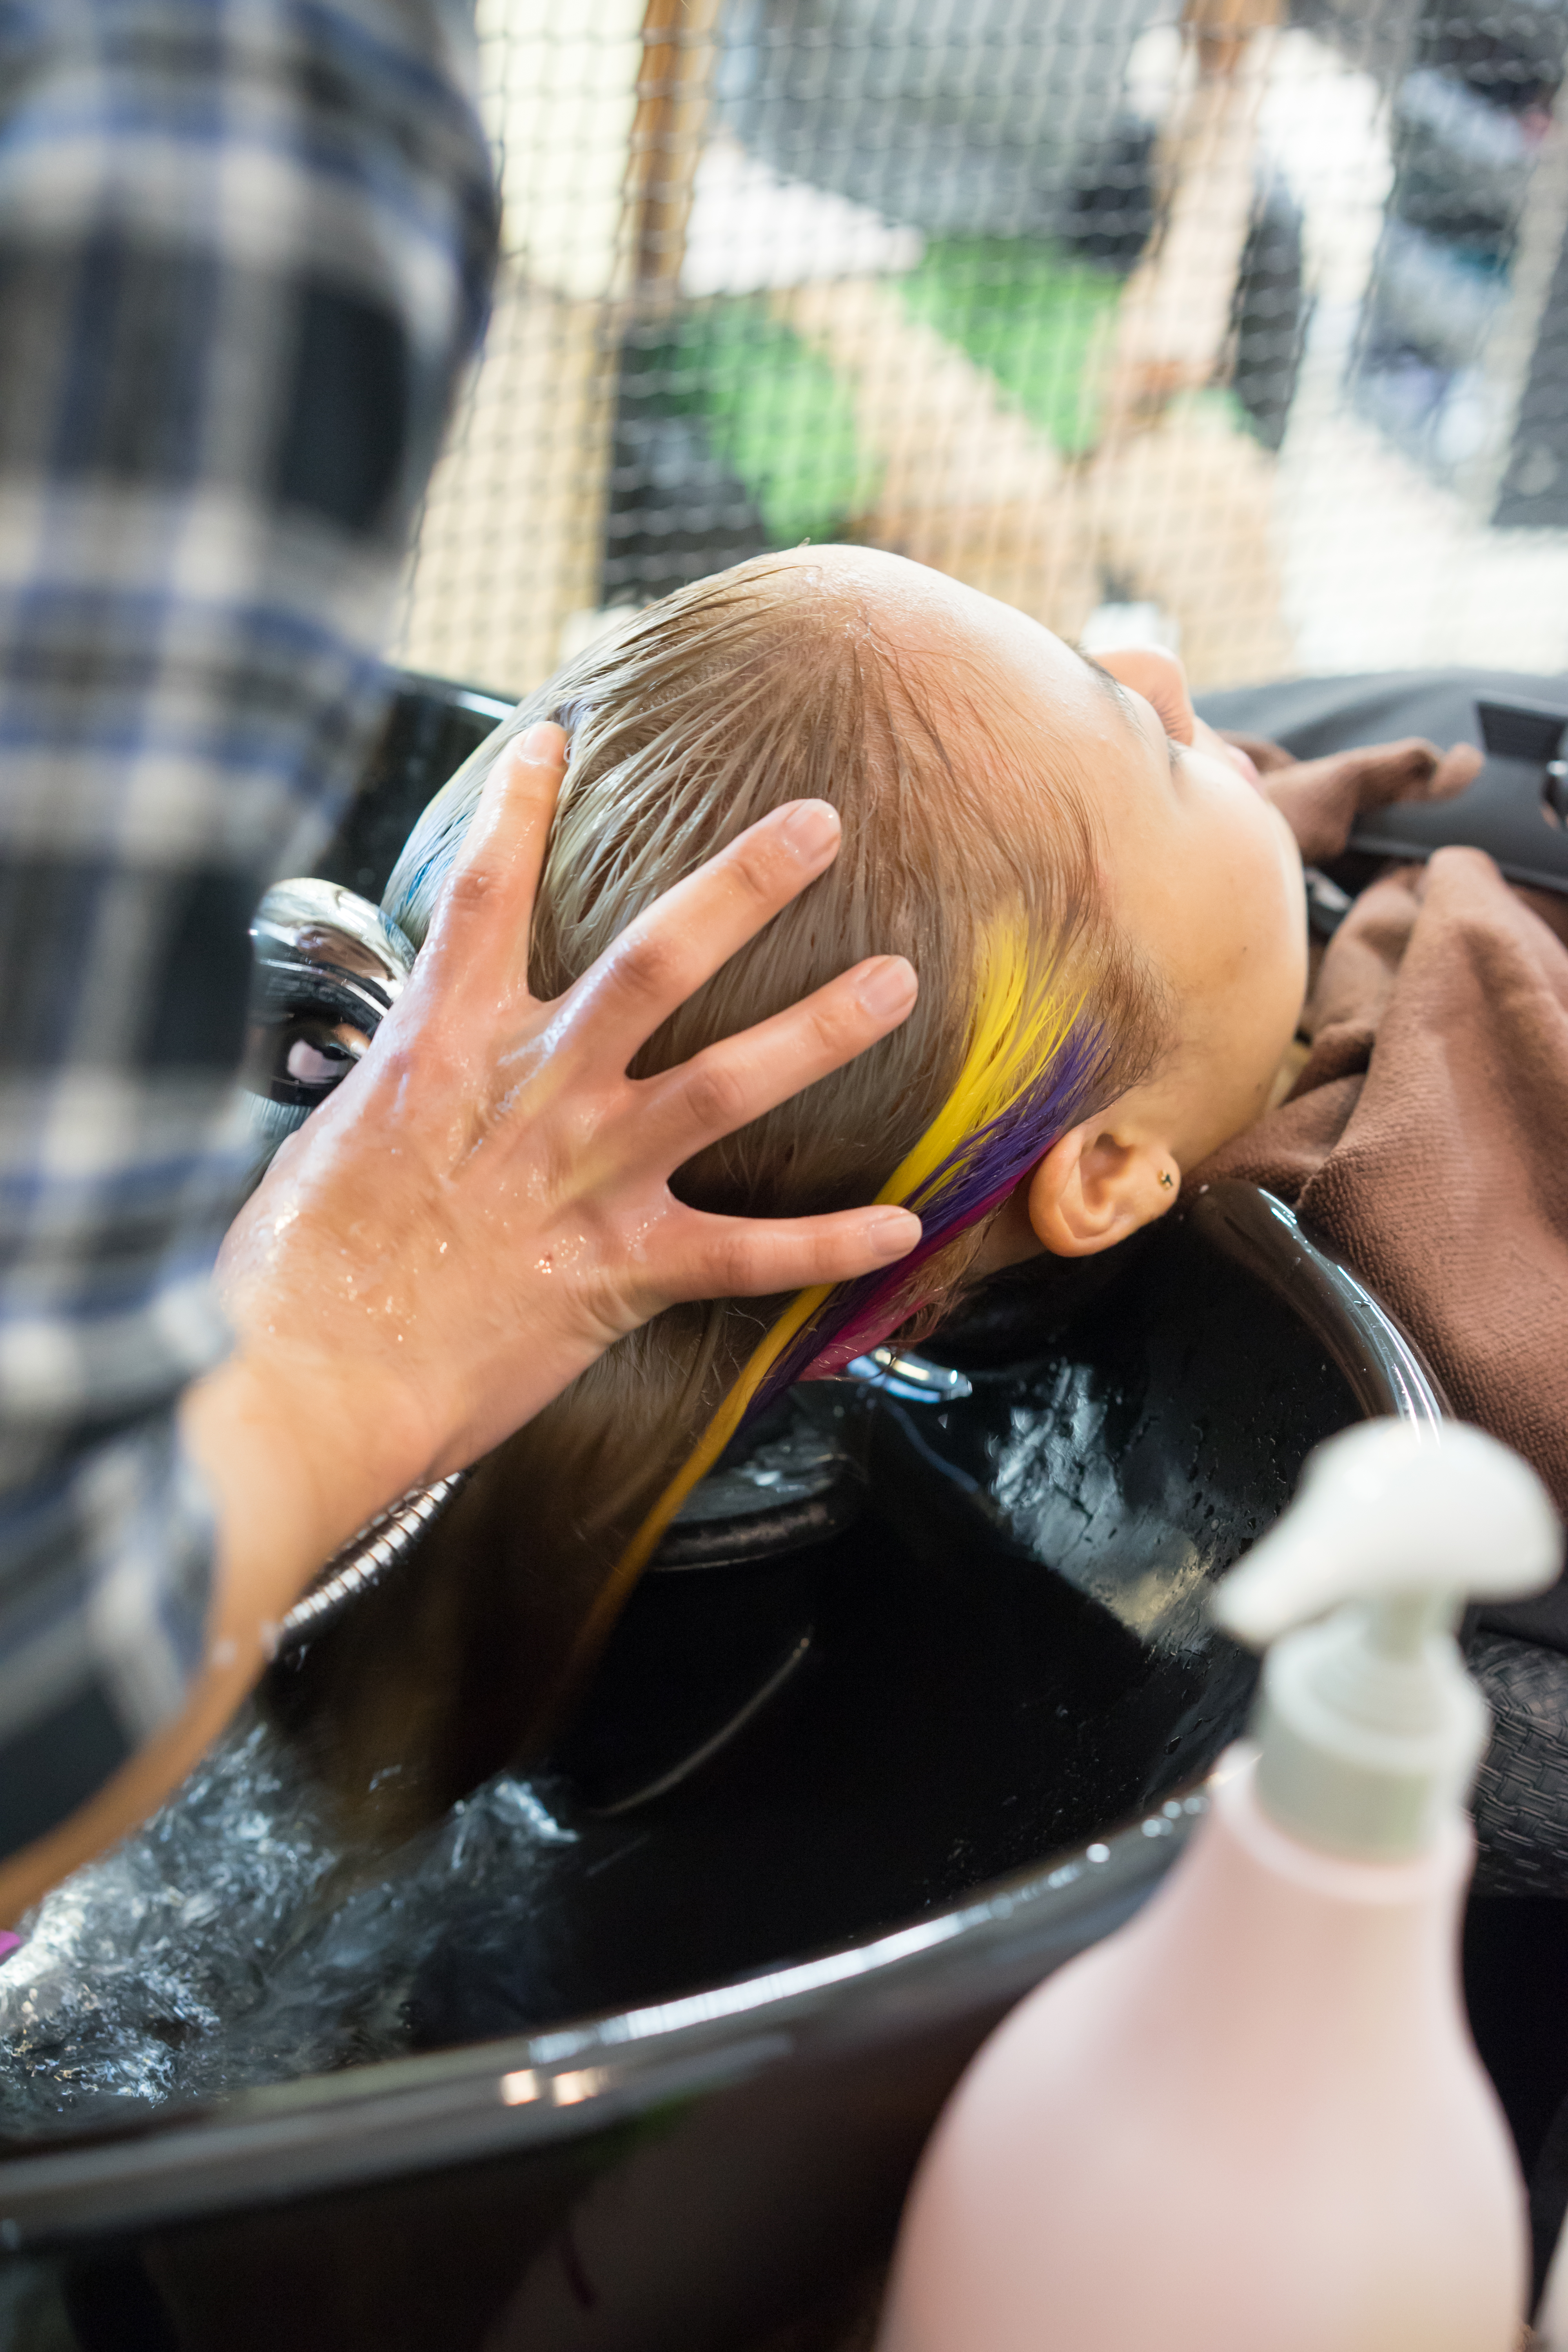
Mark, the friendly technician, gave me a refreshing and gentle hair wash.
Danson explained that, because of my previous bleaching+colourings, it wouldn’t be possible to achieve a uniform tone after bleaching. He did a good job evening it out as much as he could though! My hair was eventually a two-toned creamy colour.
On to colouring!
—
So before we get to my colouring session, here’s the kind of look I find super pretty.
I prefer subtle colours and repeatedly sought reassurance from Danson that my hair wasn’t going to come out looking like a neon light stick. Here’s when I got another mini-education on hair colours (I DIY a lot at home so I’m quite ignorant :P).
Bright hair colours fade fast because they’re semi-permanent.
If he were to colour my hair a light, pastel colour, the colour would fade to near nothingness in a few days. If he coloured my hair using the colour’s original brightness, it would soon fade to the light, pastel colour I desire after a few washes.
I did not know that! So okay, bright colours it is. For now.
Expert that he is, Danson even asked which profile I feature most in pictures. He wanted to make the highlights more visible on the side of my face that I tend to use in photographs.
He also prepared hair samples while we were waiting for the bleach to work its wonders, using the colours that we had talked about to demonstrate how my highlights would turn out. Okay, I’m totally impressed by his thoughtfulness.
Time for the highlights!
Look at that purple (and check out my straw-man yellow bleached hair)!
Here’s more of Danson, very focused on my hair (check out that blue!). He selected specific strands to highlight, with the intention of accentuating different areas and complementing neighbouring colours.
Mocha brown used as the base colour for the rest of my hair (see that yellow?).
Side note: I’m smiling here, but I’m really dying inside. Bleaching didn’t hurt. Applying the highlights didn’t hurt. Putting on the base colour hurt like crazy. It was as if ants were constantly biting me on the scalp.
Here’s another mini-education, courtesy of the knowledgeable Danson.
- Don’t wash your hair a day before colouring. Your scalp produces natural oils that protect it and reduce the stinging sensation you experience during colouring.
- Bleaching removes that layer of “protection” (I didn’t shampoo my hair for 2 days because I knew I was going in for bleaching+colouring) – the bleaching+washing off after clean the scalp of its natural oils.
- If bleaching, get ready for the pain.
Washing time with Mark!
A must-do after any processing – treatment. I got a nice, minty scalp treatment that helped ease the burn from the dye.
Blowing dry after the wash!
Danson demonstrated how I could wear my new hair…
First, with curls.
Next, braids (love how the colours show! So this is why Danson put so much effort into picking specific strands to highlight!).
Different ways to wear my new hair.
—
Some after-thoughts:
Experience at 99 Percent Hair Studio (Marine Parade): 10/10Thoughtful, friendly and chatty-but-not-too-chatty staff made the 5 hours in the salon very enjoyable. I felt like I was hanging out with friends. ♥ ♥
Bleach + Colouring (Galaxy Hair Colour): 10/10 The salon uses mainly ammonia-free colours, with the exception of the bleach and base dye used on my hair (Danson: ammonia is needed in those products to achieve the desired effect).
I went in wanting blue, purple and green highlights, and Danson recommended some additional colours and I was initially skeptical. He explained that he picked red to highlight my side profile, and used yellow to give my hair a pop of bright. Knowing that these two colours were going on my hair made me slightly uneasy, but I have to give it to Danson – he was right! I liked the red so much, he re-highlighted some of the yellow strands on my left and made them red instead. Thoughtfulness: 20/10!
Happy me with Mr Creative Stylist, Danson.
—
I thoroughly enjoyed the process and now have pretty colours in my hair!
Happy Source: Beauty Undercover + 99 Percent Hair Studio (Marine Parade), Singapore


No comments:
Post a Comment